Looking for unique and delicious holiday gifts? Wind & Willow makes it easy to spread joy with our gourmet food mixes. Whether you’re gifting friends, family, or neighbors, our products are the perfect way to show you care. Here is how we love to gift Wind & Willow:
Gourmet Gift Baskets
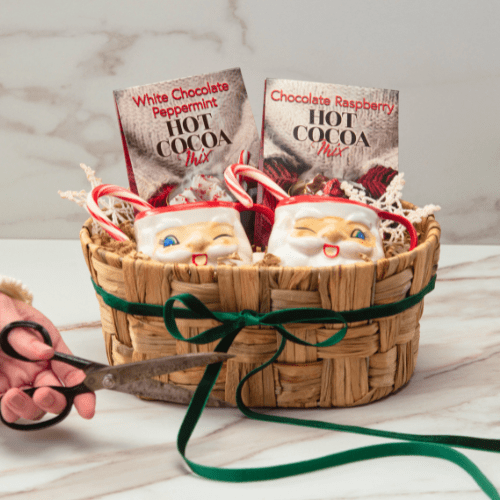
- Hot Cocoa Haven: Create a cozy gift basket with Wind & Willow Hot Cocoa Mixes, marshmallows, candy canes, and festive mugs. Bonus points for vintage style santa mugs!
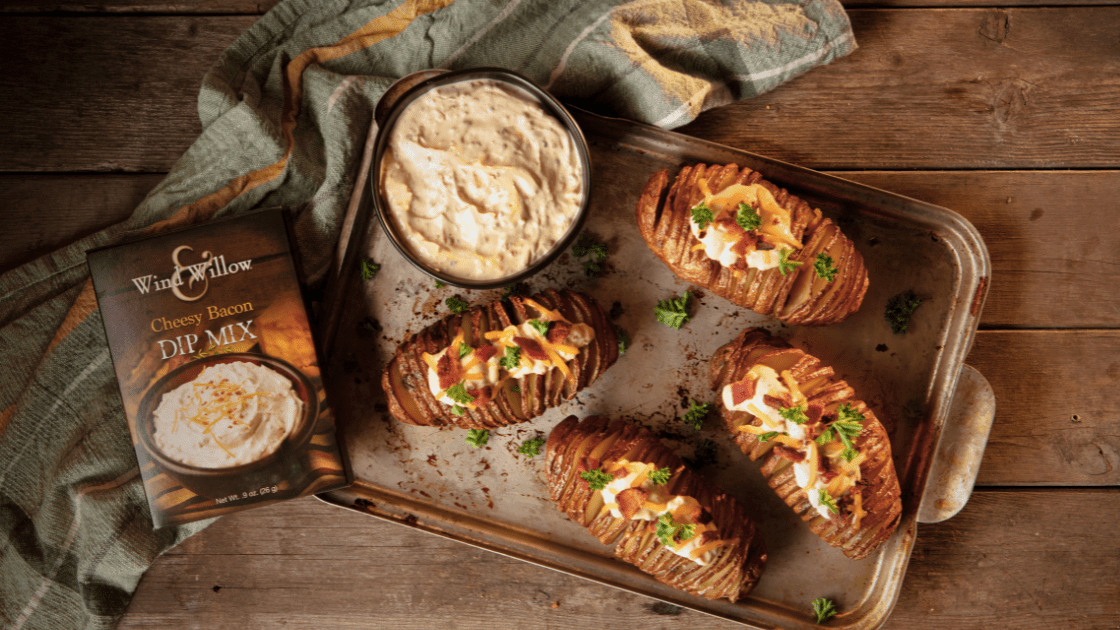
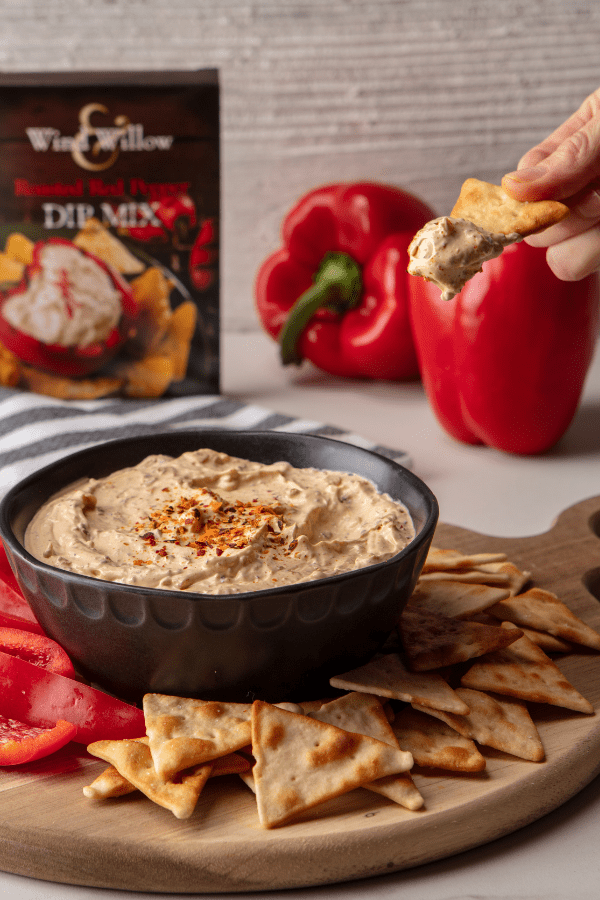
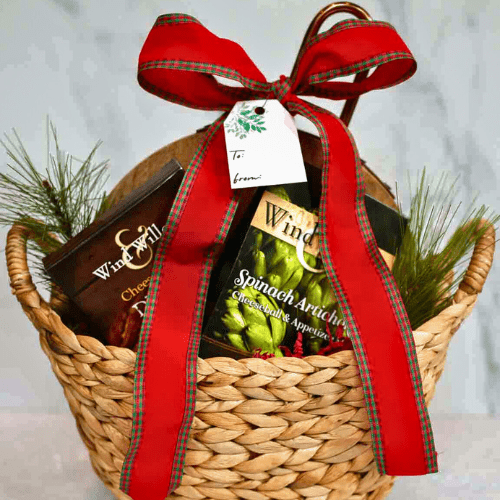
- Grazing Board Grandeur: Elevate your gift with a beautiful cutting board and a selection of Wind & Willow mixes for the perfect charcuterie board.
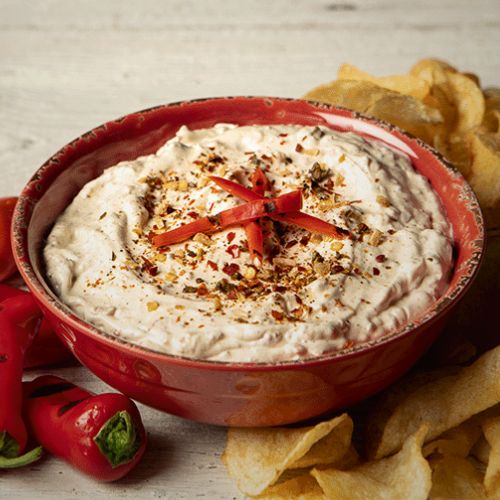
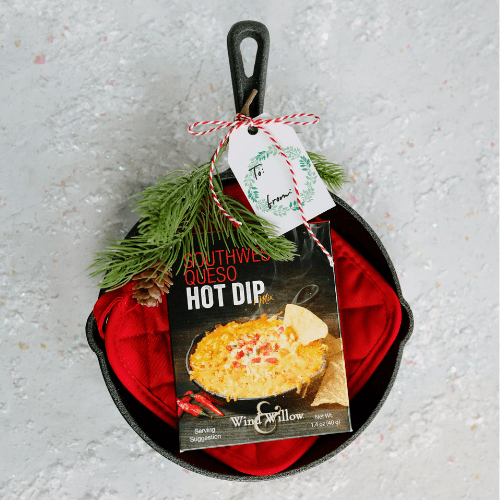
- Hot Dip Delight: Gift a mini cast iron pan, Hot Dip Mix, and a potholder for a complete cooking experience.
DIY Gourmet Treats
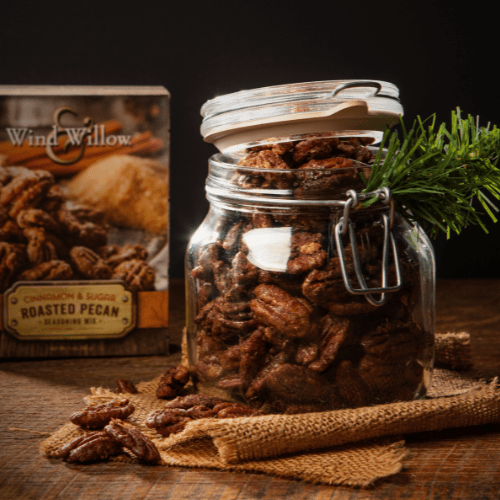

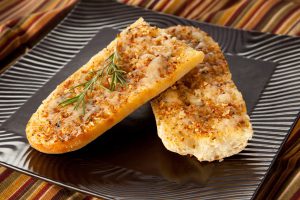
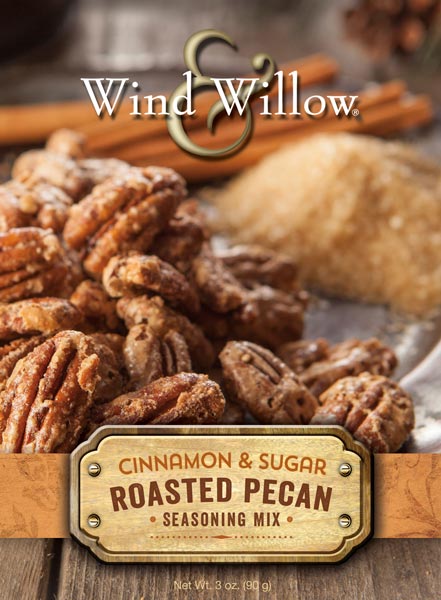
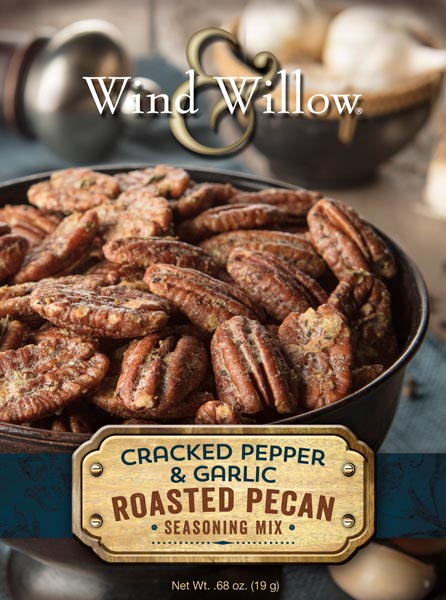
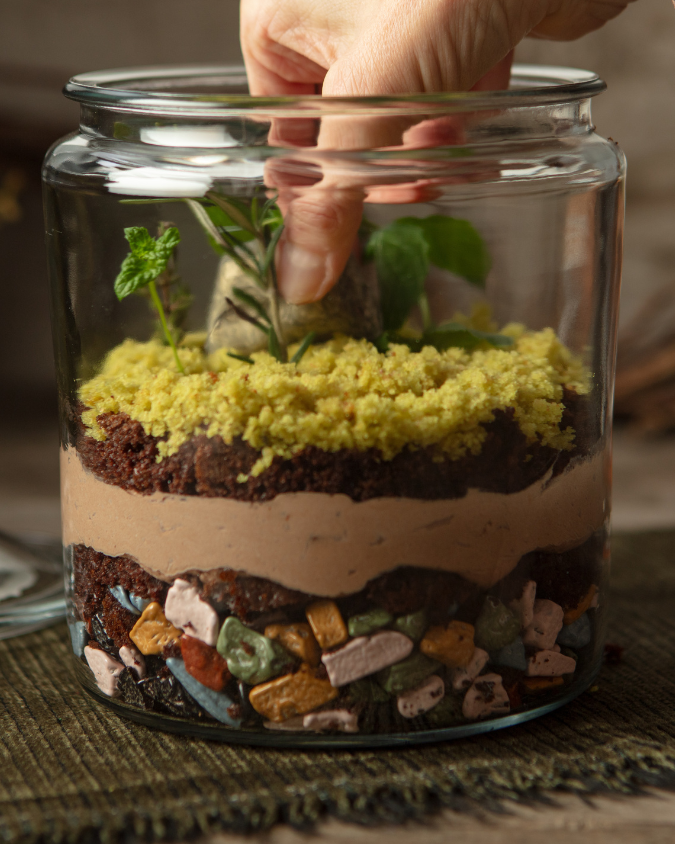
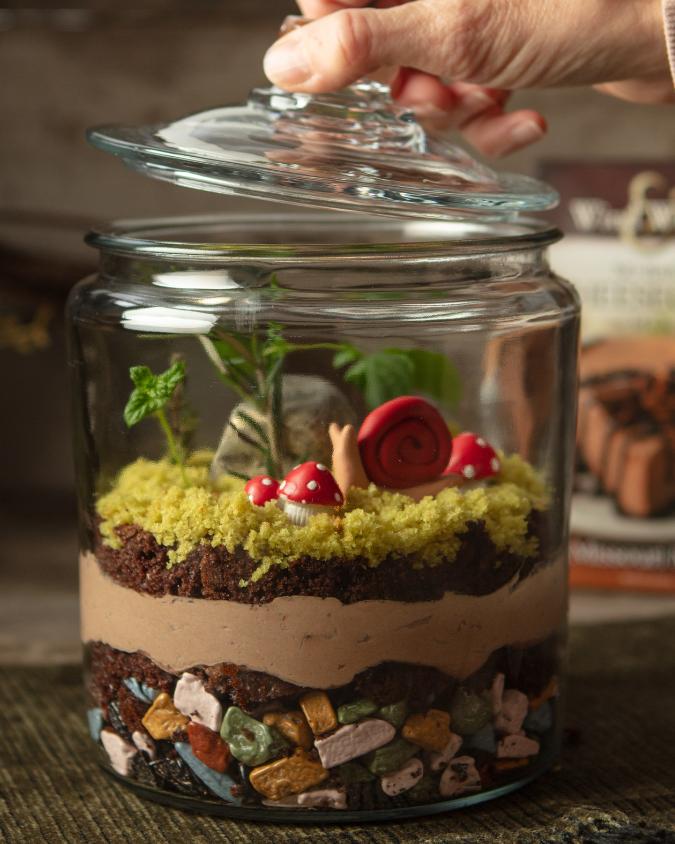
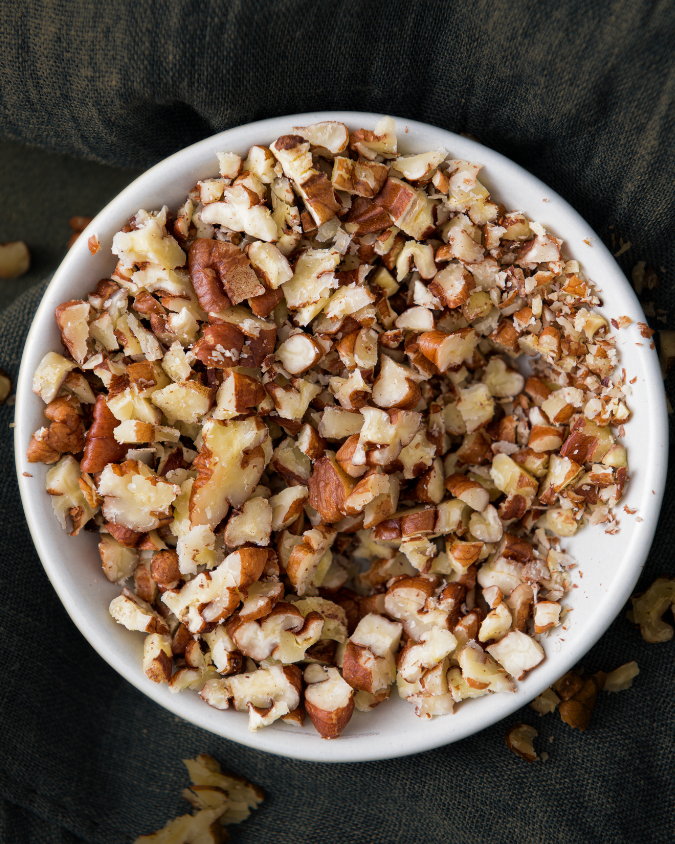
- Packaged Pecan Perfection: Prepare Roasted Pecan Seasoning Mix and package them in a glass jar for a beautiful gift for teachers or neighbors. See all the reasons we love the Roasted Pecan Mixes in this blog post.
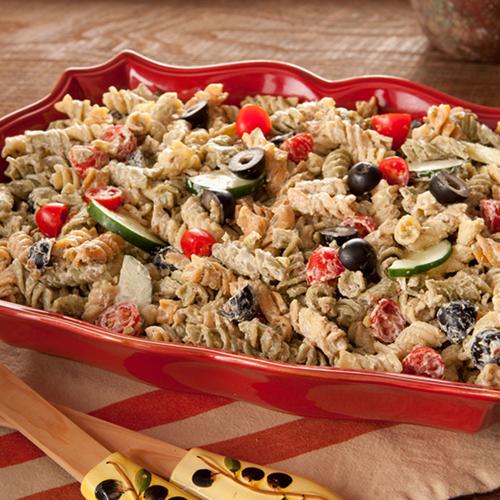
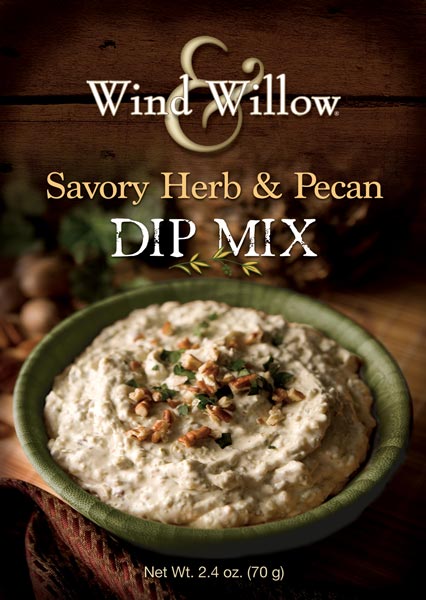
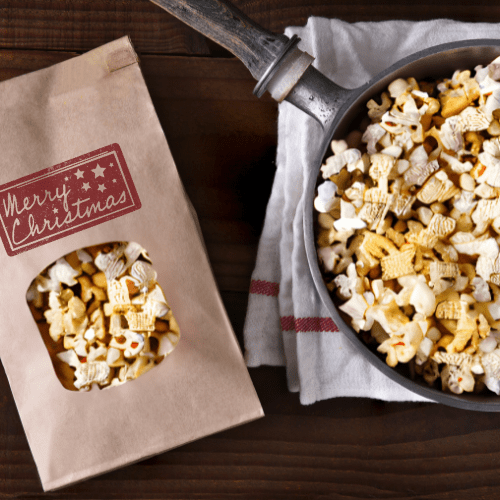
- Party Mix Magic: Create a party mix using our Back at the Ranch Dip Mix and package it in festive treat bags for all of your friends.
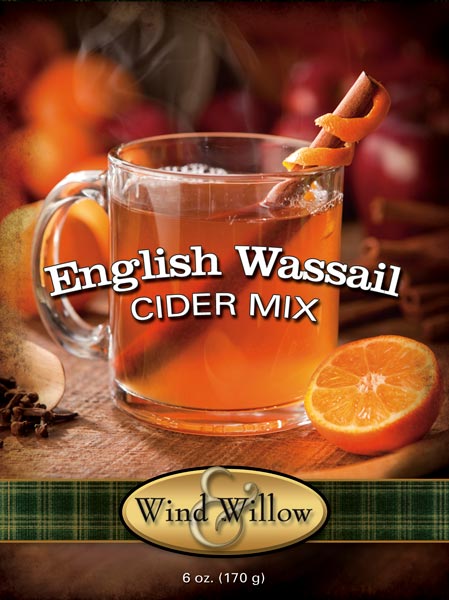
- Elevated Cookie Gifting: Make Orange Spice Cookies using our English Wassail Mix and package them up to share. This recipe is featured right on the back of the packaging.
Share Your Wind & Willow Gifts
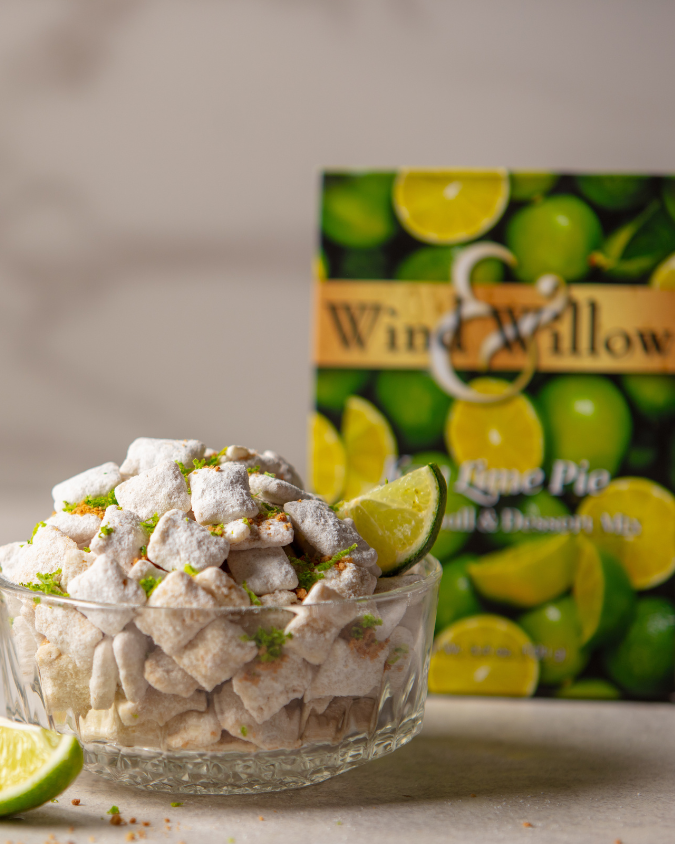
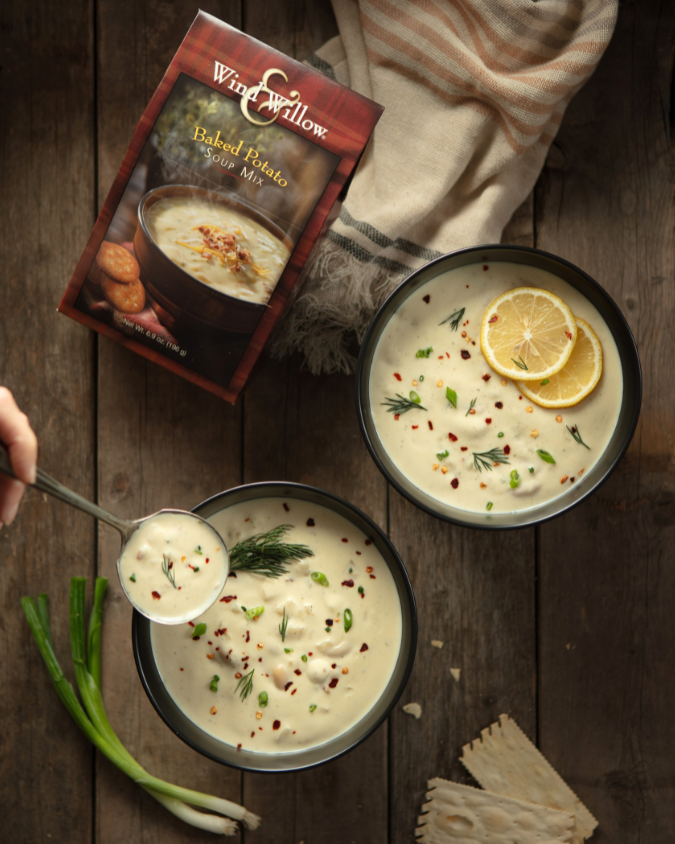
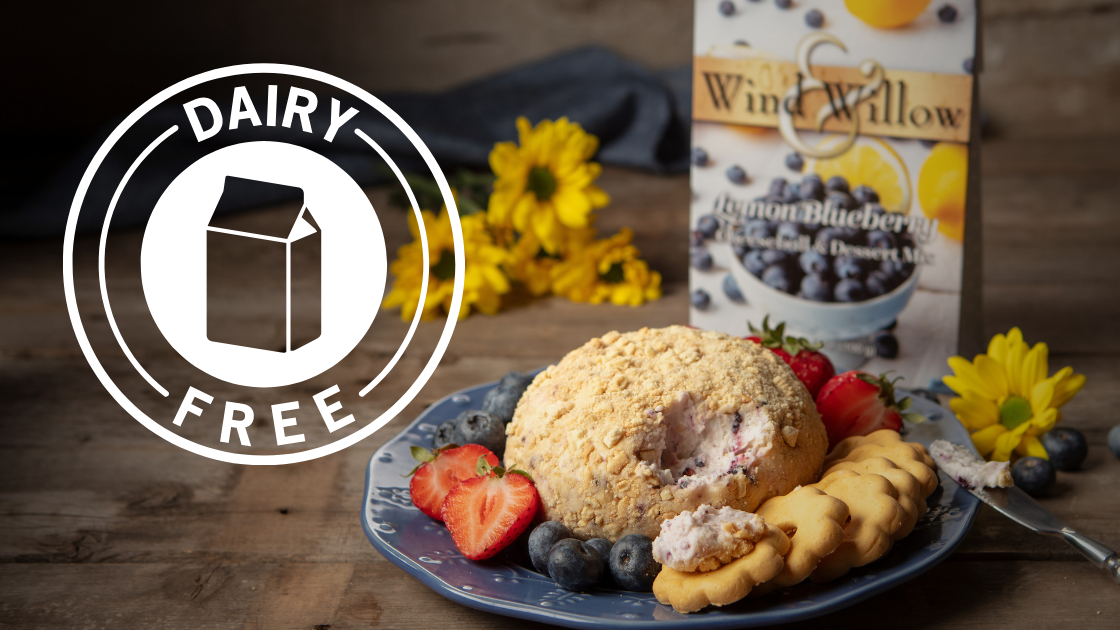
There are so many ways to make and share Wind & Willow. Beautiful images give each package a unique look that can bring a gift basket theme to life. The mix inside is as delicious as the package is pretty. So whether you give a box for them to have on hand or prepare it for them as a host gift, Wind & Willow is the gift they will look forward to every year.
We love seeing how you gift Wind & Willow! Share your creations on social media and tag us @windandwillowfoods on Facebook and Instagram for a chance to be featured on our page.
Shop Our Seasonal Favorites
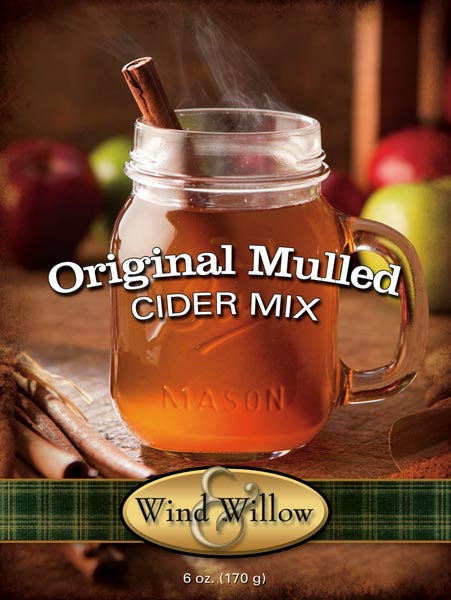
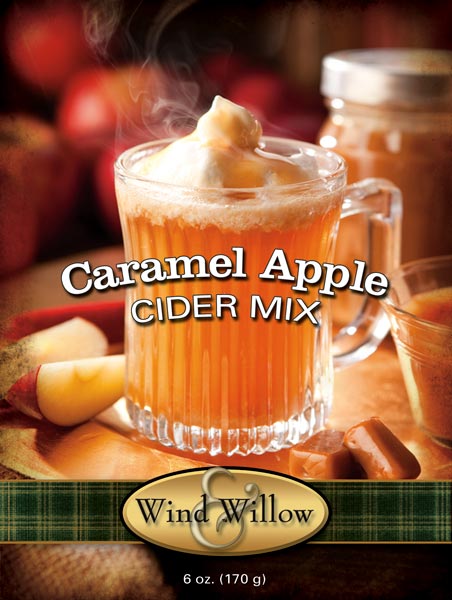
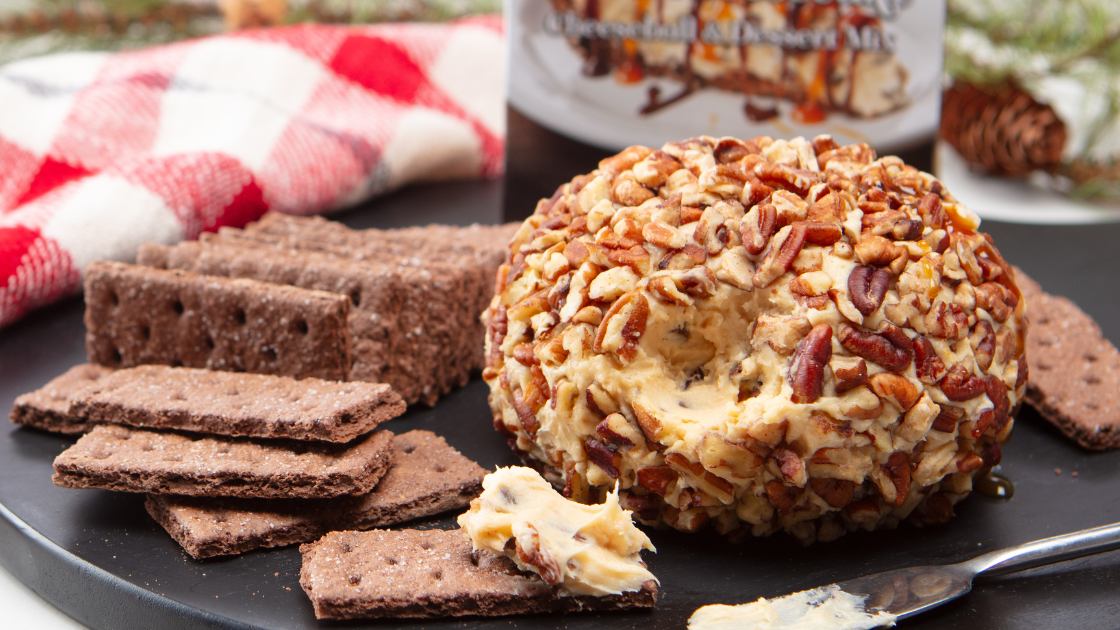
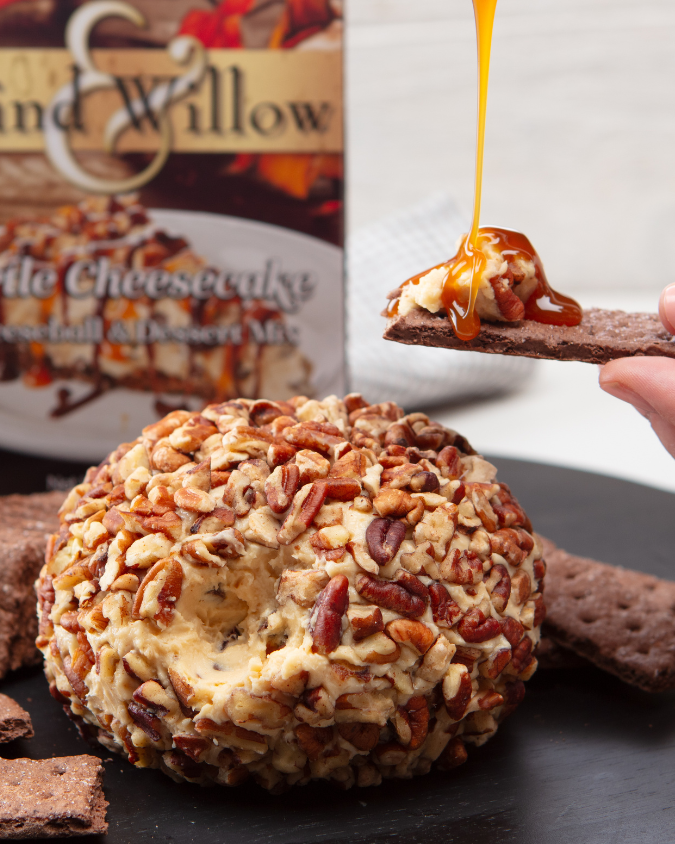
Don’t miss out on our limited-edition holiday offerings: Hot Cocoa (including White Chocolate Peppermint and Salted Caramel flavors), Apple Cider, and Holiday Cheeseball Mixes (Including Cranberry Pecan and Apple Strudel flavors).