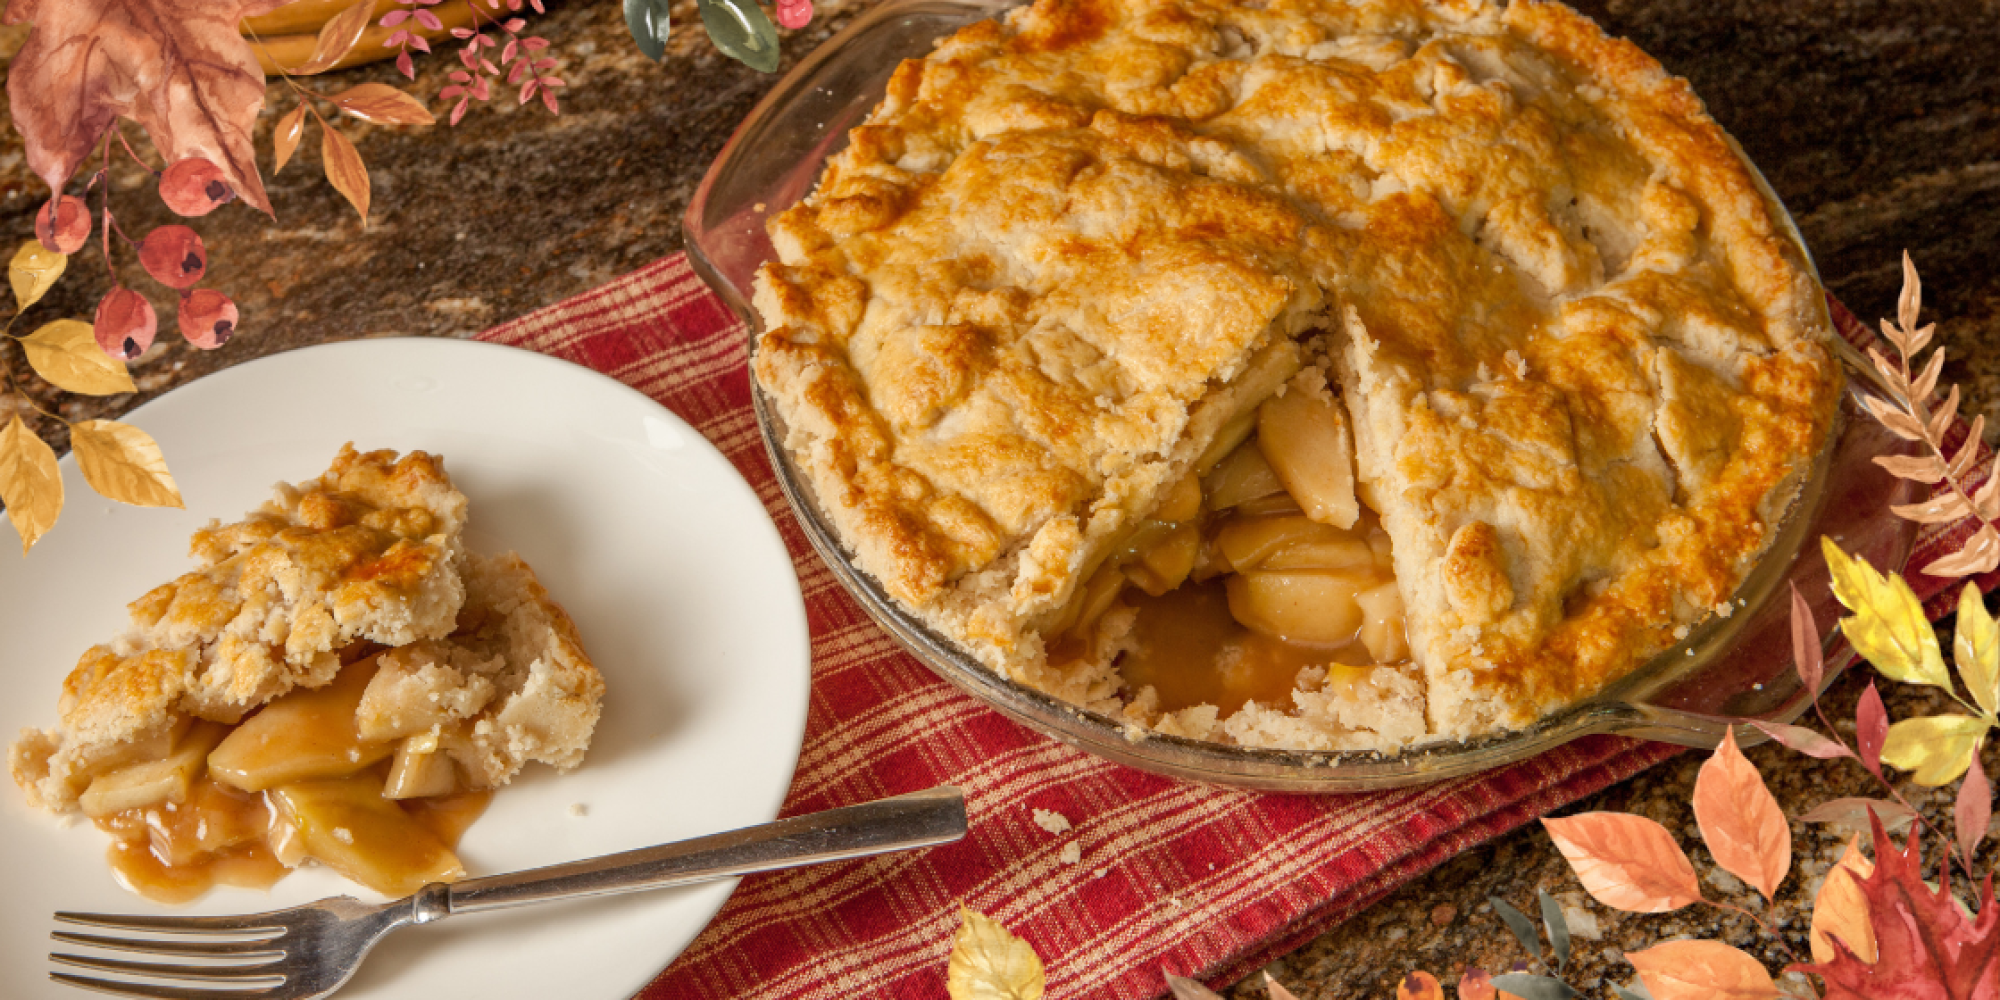
Good apple pie can be hard to come by. We want the kind that tastes like grandma must have been in the kitchen for hours creating it. While we love those old fashioned recipes, who has the time? We developed this recipe in a last minute, pinched-for-time kind of moment and it has become an all-time favorite. Click the link here or in the summary at the bottom for the condensed version of this recipe, or keep reading for all our juicy secrets for the ultimate apple pie.
Secret #1: Don’t Worry about the Peel
We have tested it, and we are here to tell you that it’s okay to leave the peel on! If we have time we do peel our apples, but if you slice them nice and thin, or choose to dice them, the skin just adds some fun color and you hardly notice them. So core, cut, and (if you choose to) peel about five apples.
Secret #2: Apple Type is Overrated
There are a lot of theories about what apples are best for a pie, we say whichever you have on hand are best! If you are grabbing some for the recipe just get what you like, looks good, or sounds exciting to try!

Secret #3: Submerge in Lemon Water
Place your prepped apples in water with a squirt of lemon juice while you prep your crust to keep them from browning. Just be sure to drain the water before adding them into the recipe.
Secret #4: Store Bought Crust?!
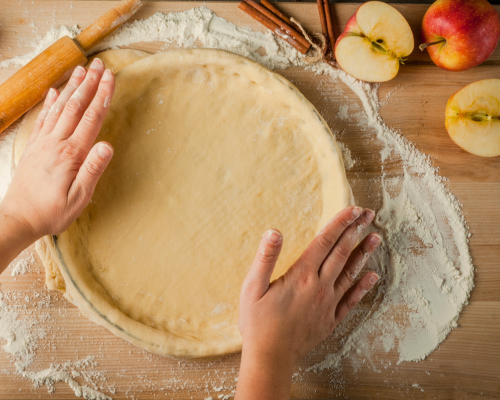
Our beloved family recipe for pie crust is one secret we will never divulge, but we have an even juicier one to reveal… store bought crust is almost as good. So just thaw that ready made crust and press it into your pie dish for the quick route and if you have time go ahead and make your own homemade crust.
How to Bring it all Together
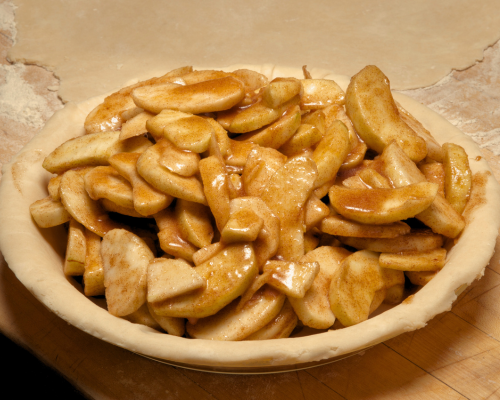
Preheat oven to 350 degrees. Meanwhile, cook apples on the stove in 4 Tablespoons of butter over medium heat until they are to your desired tenderness (approximately 10 minutes). Sprinkle in 2 Tablespoons of flour and a Wind & Willow Apple Cider Mix. Stir until flour and sugar dissolve. (approx 10 minutes). Once the filling is ready, spoon it into your pie dish and top with your remaining crust.
Secret #5: For that Golden Crust
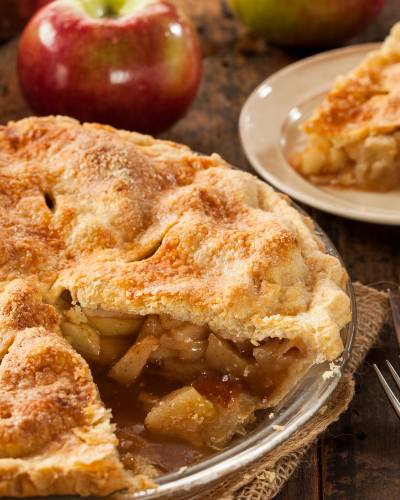
Wisk one egg and brush it on top of the pie. This is technically an optional step, but truly that flaky golden crust is worth the extra time even when you are in a hurry. Use a sharp knife to cut vents into the top of the crust after the egg wash. Bake the pie for about 25 minutes or until it is fully cooked and golden.
Just a Few More Tips
- Any one of our three Cider Mix flavors will work for this pie recipe. Each one offers a unique flavor profile: Original for a traditional pie, Caramel Apple for an extra gooey and decadent pie (our personal favorite), or Wassail for a hint of unexpected bright citrus.
- Get creative with add-ins like raisins, nuts, or cranberries in the filling, cinnamon sugar sprinkled on the crust before baking, or replacing the top crust with a crumble topping.
- The longer you let your pie cool, the easier it is to cut a pretty piece… but sometimes it is totally worth cutting in sooner than later!
If you have Wind & Willow products on hand and some simple pantry staples, you are always prepared to create show stopping dishes at the drop of a hat. Impromptu gatherings are the best. Gather friends and family around good food and prepare to make memories.
For our more concise recipe click here.
We love to hear your stories of gathering around your Wind & Willow creations. Tag us on social media @windandwillowfoods so we can check out how you are using our products.
